Today has been frantic.
Loads of laundry.
Cleaning rooms top to bottom.
Packing.
Yet it will all be worth it in the long run.
Tomorrow I will be on my way to the Big Apple for a mission trip!
I have gone for 3 years now,
And the trip just gets better each year.
So for my last post at home,
I'm excited to show y'all my DIY fabric strawberry.
I thought it turned out pretty cute myself,
And my little sisters already love playing restaurant with it!
What you'll need:
Needle and Thread
Scissors
Fabric for Strawberry
Fabric for Leaves
Pen
Button
Scrap Paper
Not shown:
Stuffing
Sewing Pins
Begin by cutting a pattern.
Create one similar to the one I made above.
Pin it to your fabric,
And cut it out.
Fold the fabric in half,
Inside out.
Now sew the sides together.
Return the fabric to right-side up.
Once you have done this,
Sew all around the edge of the top.
NOT TOGETHER!
Just simply stitch the edges of the top of the fabric.
Do not knot the edges of the thread.
You should end up with two loose pieces of thread.
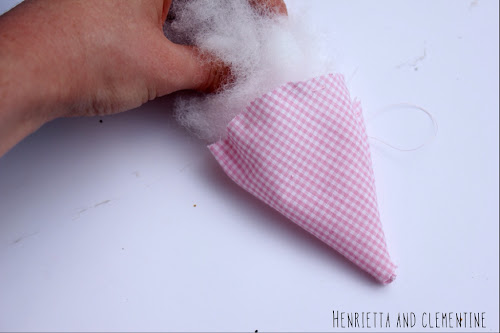
Stuff the strawberry.
Once its fully stuffed,
Tightly pull the two pieces of thread.
Now onto the leaves!
Sew the leaves.
Sew the button on top.
And voila!
Your done.
It looked pretty cute on my little sister's Pottery Barn Kids cake.
Y'all have fun crafting,
Daisy
Blog Parties:SundayDIY Showoff,Under the Table and Dreaming,Uncommon DesignsMondayBetween Naps on the Porch,Cozy Little HouseWednesdaySavvy Southern Style,The Pleated PoppyThursdayThe Shabby Creek Cottage,From My Front Porch To Yours,Common GroundFridayTatertots and Jello Sunday DIYshowoff Nifty Thrifty Things


This is Adorable, what a Creative Young Soul you are! Blessings from the Arizona Desert... Dawn... The Bohemian
ReplyDelete